Processing a RAW photo of the moon to enhance the subtle hues of different areas of the surface needs to be done in stages for best effect. The yellows and blues reveal areas on the surface made up of different minerals, which scatter the incident sunlight to different degrees.

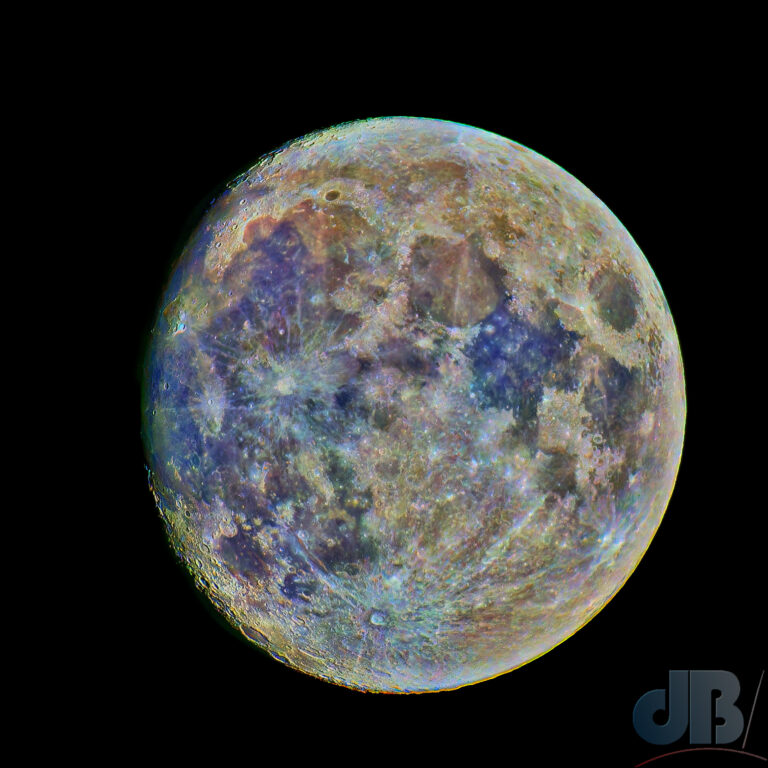
A quick glance at the moon in the night sky and you might imagine the surface is fifty shades of grey. But, take a photo, preferably with a telescope or a big zoom lens and you can process the image to bring out the colours in the surface. These colours essentially represent different regions of minerals scattering sunlight in different ways. So with just the right kind of enhancement you can create a geological map of the moon.
I’d heard about this technique some time ago, but hadn’t given it much thought since. But, the moon was lovely and bright last night, waxing gibbous, not full, and I got a quick snap at 600mm on a 2/3 frame mirrorless camera.
The chemicals on the surface of the moon’s seas, the maria (first %), and its highlands (second %)
Silica 45.4%; highlands 45.5%
Alumina 14.9%; 24.0%
Lime 11.8%; 15.9%
Ferrous oxide* 14.1%; 5.9%
Magnesia 9.2% 7.5%
Titanium dioxide 3.9%; 0.6%
Sodium oxide 0.6%; 0.6%
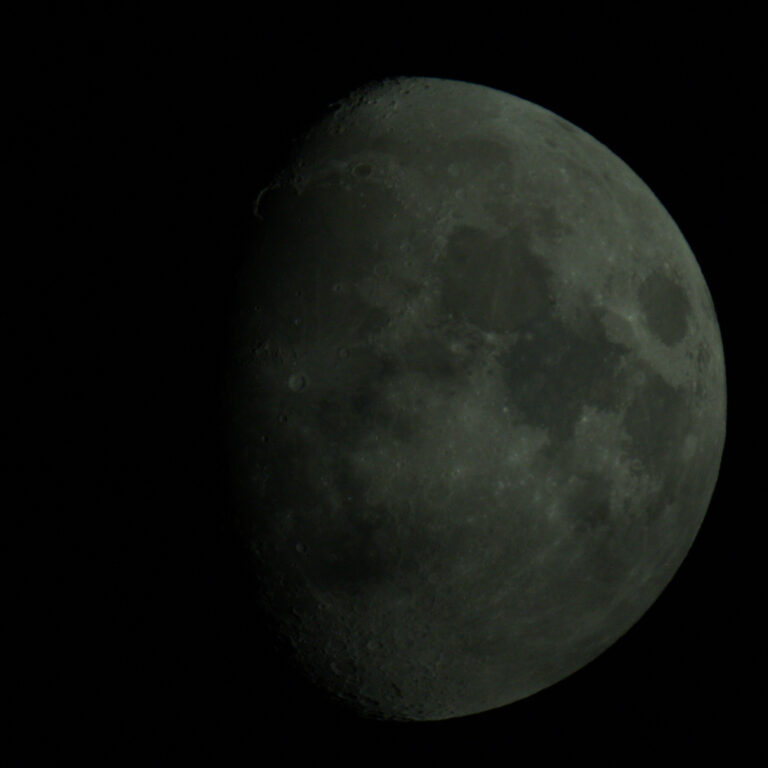
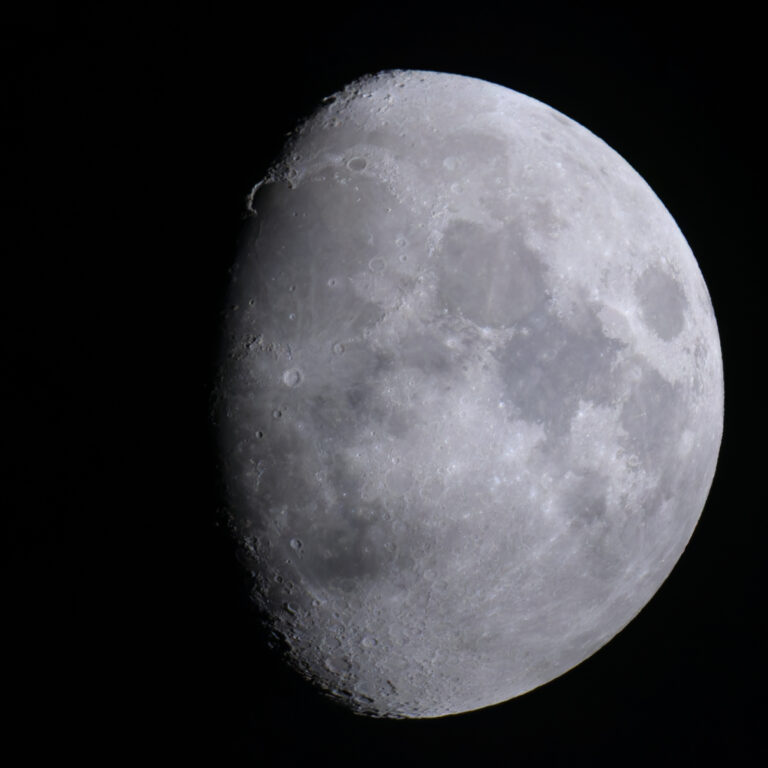
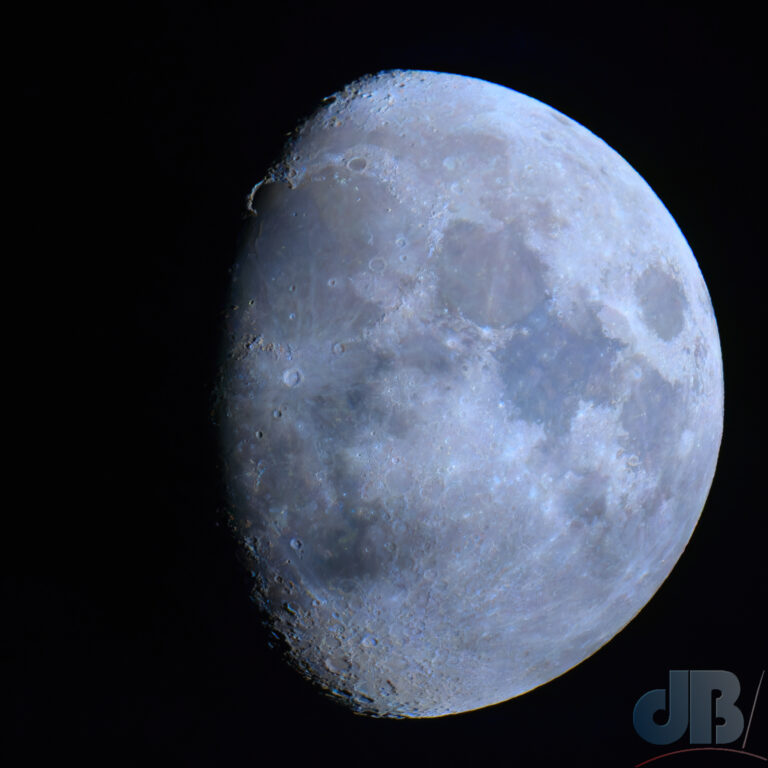
Here’s the RAW shot, unprocessed and loaded into my photo editor. Obviously, I’d messed up, it’s massively underexposed.
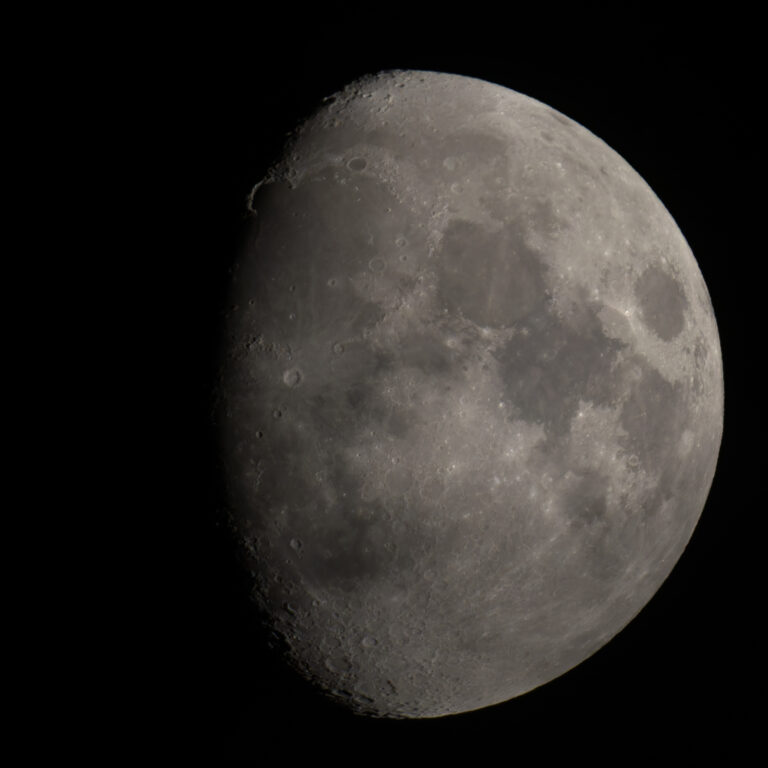
So, I re-opened the RAW file out of the camera in DxO PureRaw to apply some initial denoising and let it do some automated camera adjustment based on my lens and camera.

Well, that’s a bit better, but I could perhaps adjust exposure in the photo editor’s own RAW import function and brighten it up properly. The highest exposure compensation is +3.0 in the software and it’s basically done some of the work, but still not enough.
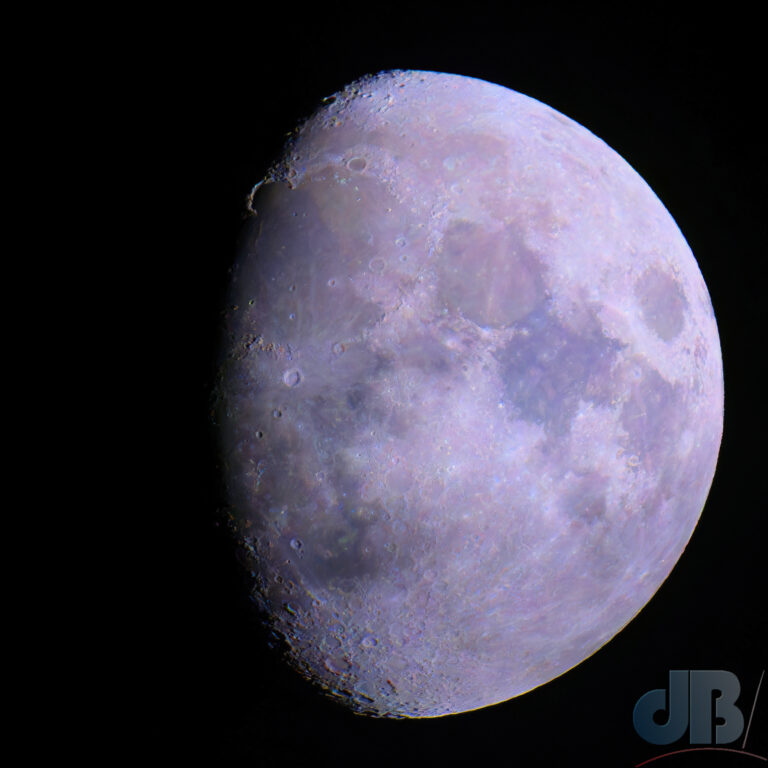
So, I needed to do some basic levels adjustments to get it to this state and you can already see some of those mineral colours showing more than you would see with the naked eye or even through your telescope.
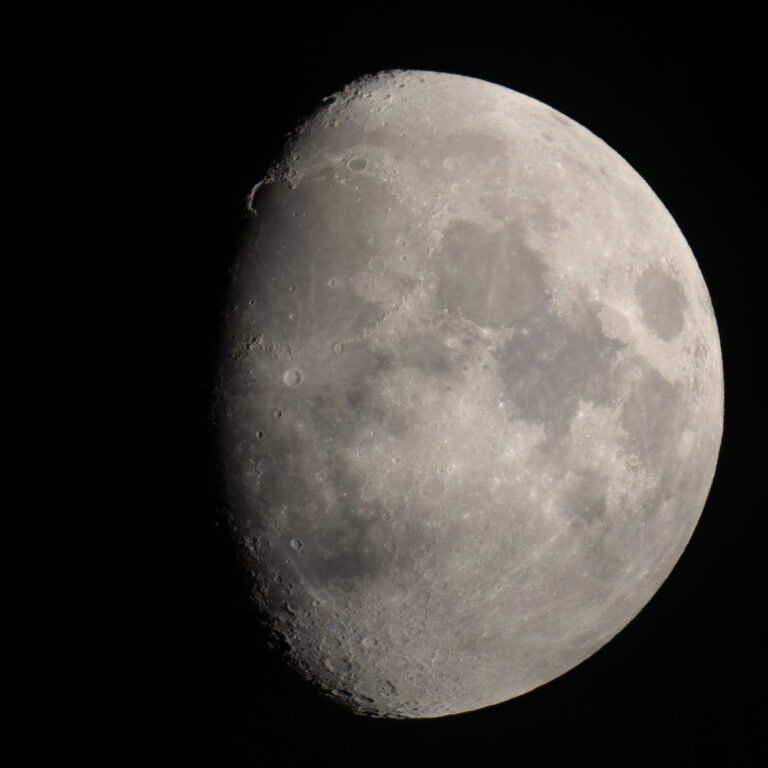
Now, before doing any more, it’s worth applying the photo editor’s automatic colour fix to correct white balance and other potential problems.
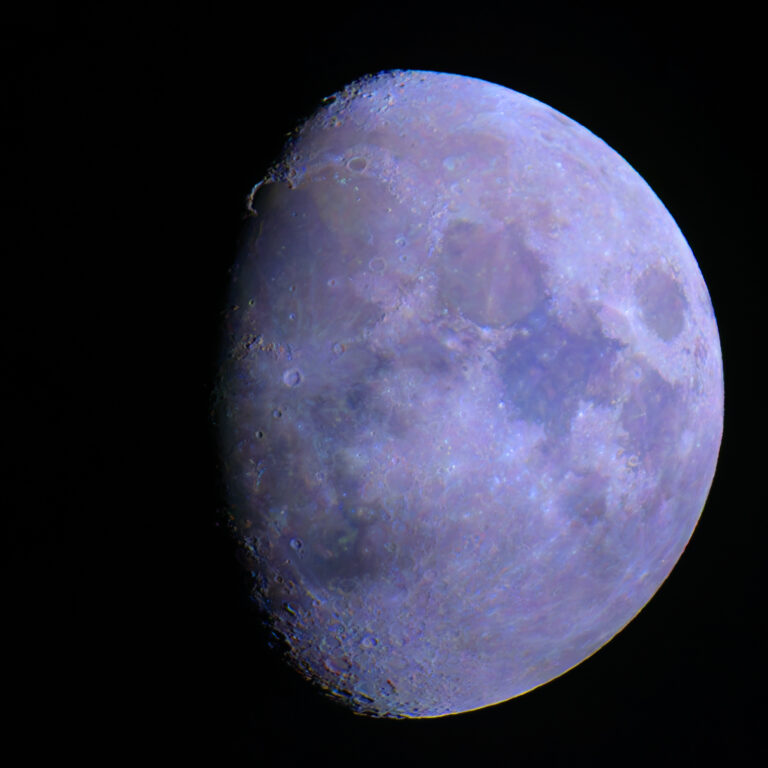
Now, to bring out the colours. It would be possible to simply whack up the saturation, but if you do that you get a noisy and solarized (ironically) mess. Although it’s worth trying that, say increasing saturation by 80%, just to see what it looks like. It does show the variations in surface colour that your camera picks up, but like I say it’s an over-the-top result.
So, I reverted that and went to the “layer adjustment window” in my photo editor instead. Ramping up the saturation is possible with multiple adjustment layers so that the effect can be done in a more gradual way to the same level but without losing as much information in one fell swoop as would happen with an 80% saturation boost applied. So, you apply multiple saturation adjustment layers, setting the boost to 20% or so for each, and looking to see how well it works at each step. Alternatively, in my photo editor, I can add a vibrancy adjustment stepwise. That’s what I did for the following image, which had five vibrancy layers of 20% each. Six was too many.
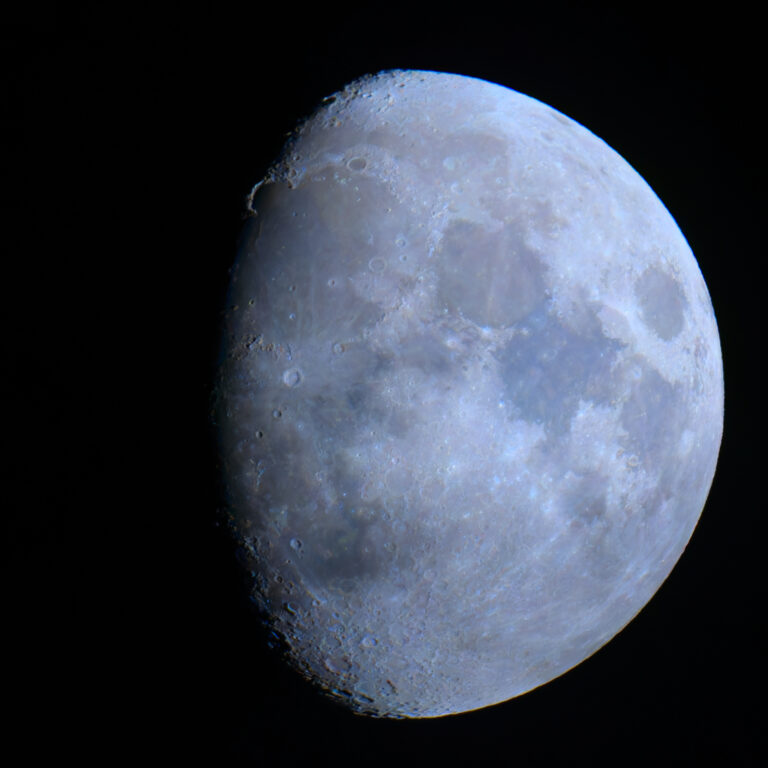
At this point, one might stop. It looks good as it is. But, I next applied a local tone mapping adjustment, which adds a bit more definition to the different coloured regions.
There’s now a need to sharpen and denoise the image again, which I will do by importing into Topaz Denoise AI and choosing some basic settings just to give the final image a bit of a visual bump and tighten things up.
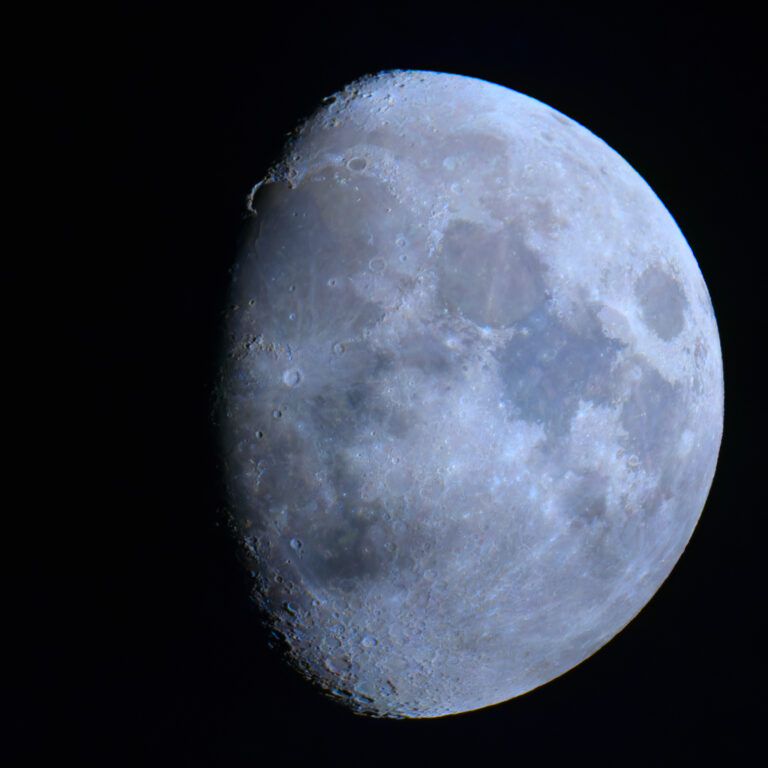
I re-did the whole process using four 20% saturation adjustment layers instead of the more subtle vibrancy to get the following image. I can’t decide which I prefer the previous one or this one.
To take it to the next level, it is worth doing a burst mode shot of the moon and then using stacking software to overlay them, this is a way to reduce noise. Noise is random in each frame and so overlaying and discarding noise succesively in the software boosts the amount of information you can see in the image and so improves clarity. Applying the above process to such a stacked shot should give you a much better final image.
It’s also worth noting that getting the exposure right in the camera from the off, using a tripod, and live view with either mirror up or in a mirrorless camera will all help improve the images you get.
*More properly known as iron(II) oxide, the lower oxidation state as opposed to ferric, iron(III) oxide more commonly found on earth and as rust.